
What Balsam Fir Means
The identification of a balsam fir starts with field traits a family can confirm without special tools. Visitors walking the rows look for an evergreen habit, flat needles, and a naturally balanced cone shape. Rubbing a twig releases a soft resin scent that defines the traditional holiday experience for many households.
Where botanical field guides detail conifer traits, the pale lines on the underside of the needles confirm the species. These needles are typically flat and short, commonly falling in the 0.6- to 1.2-inch range. The tree keeps its foliage year-round, though new shoot extension is heavily concentrated in the spring-to-early-summer growth window.
Young bark often shows small resin blisters. This specific texture helps distinguish the balsam fir from several spruces during hands-on teaching sessions in the field. Recognizing these physical markers gives a reliable approach to managing the specific needs of the species as it moves from seedling to mature tree.
Year-by-Year Growth Stages
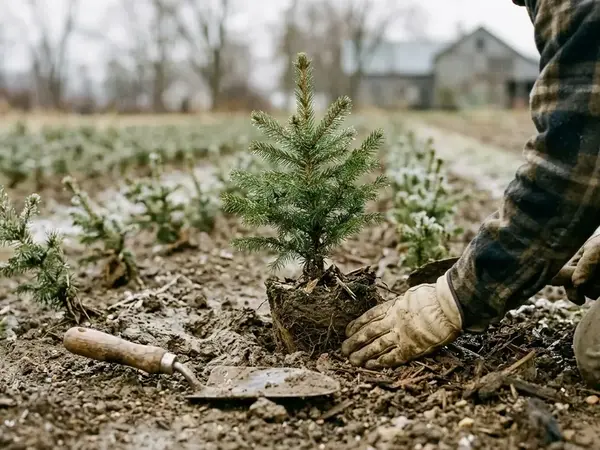
The cultivation timeline is built around what the grower should look for each fall, rather than relying solely on the age printed on a seedling invoice. Year 1 focuses entirely on root establishment after planting. You judge success in late September or October by checking for live buds and flexible twigs. A gentle tug at the base of the seedling should meet firm resistance, indicating the roots have anchored into the surrounding soil.
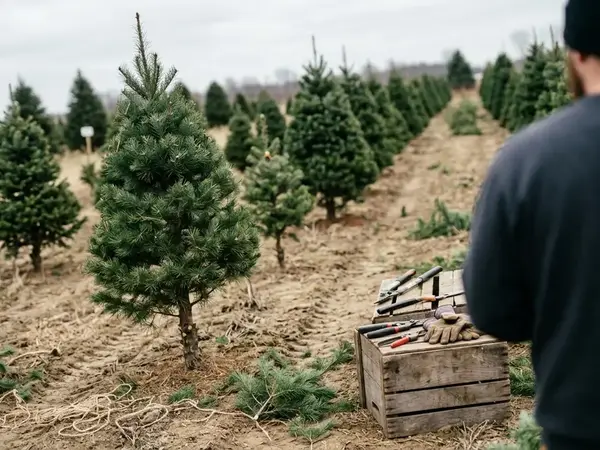
Years 2 through 4 show steady height increase and branch development. During this phase, the primary goal is maintaining a single, strong trunk. Keep one upright central leader and remove any competing leaders during the dormant season, which typically runs from December through February in Illinois.
Years 5 through 8 bring the full conical form suitable for harvest. Begin annual harvest-readiness checks each October. A ready tree features a straight leader, filled lower branches, and a stable conical outline that holds its shape under the weight of winter precipitation.
Daily and Seasonal Care Steps
Care decisions are sequenced by stress risk. Planting comes first, followed by moisture management during establishment, and finally seasonal scouting. Treatments are saved for confirmed problems because unnecessary applications disrupt the local soil biology.
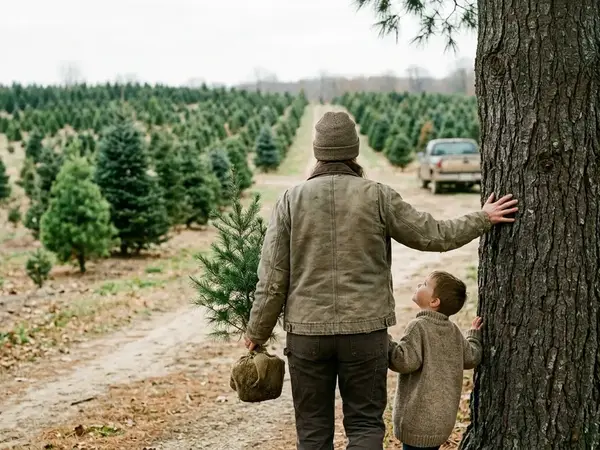
For Illinois planting, set seedlings in early spring once the soil is workable. This window commonly opens in late March through April depending on local conditions. Use a 2- to 3-inch mulch ring to retain moisture and suppress weeds. Keep the mulch a few inches away from the trunk so the bark stays dry and resists fungal rot. You can find additional site preparation details in the University of Illinois Extension guide on conifer planting.
Pro Tip: During the first two summers, water deeply during dry spells rather than sprinkling lightly. A slow soak every 7 to 10 dry days is far more useful for deep root development than daily surface wetting.
While it does best on well-drained sites, balsam fir struggles on hot, compacted clay where drainage correction is required. A north-facing Illinois slope with lighter soil can hold balsam fir quality longer than a flat, windless site where summer heat and poor air movement increase needle disease pressure.
Warning: A balsam fir seedling planted into a low, wet pocket may stay green for several weeks, then decline after roots sit in oxygen-poor soil. This delayed collapse is easy to mistake for drought, leading to overwatering that accelerates the tree's death.
Scout for needle cast symptoms in late spring and again from August through October. Pay close attention to the lower interior branches where air movement is poorest and moisture lingers longest.
Step-by-Step Plan for One Illinois Acre
This one-acre plan is designed as a teaching block. The layout favors walking space, clear labeling, and family access over maximum tree count. It rejects filling the entire acre at the tightest possible spacing.
Working with regional nurseries over several growing seasons keeps access open to high-quality, climate-adapted stock. Order 200 seedlings from a certified regional nursery during the winter ordering period. Plant them during the spring planting window.
Key Takeaway: Prepare your site and tools before the trees arrive to prevent root dry-out.
- Late winter: Confirm seedling order and storage instructions. Flag rows and access lanes before planting day. Sharpen hand tools and prepare tree tags.
- Spring planting window: Plant seedlings at the correct depth. Apply the mulch ring.
Lay out 10 rows with 20 trees per row. Use 6 feet of spacing between individual trees and 6 feet between the rows. Reserve the remaining acre space for access lanes and equipment turns. Orient the rows north-south so both sides of the trees receive more even sun exposure throughout the day.
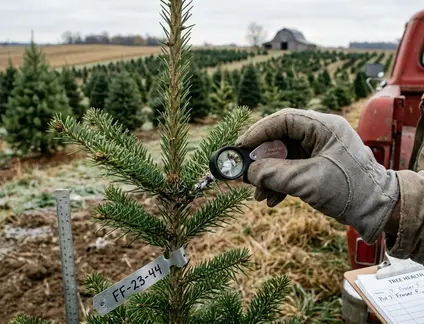
Tag each row and record height measurements during the same October week each year for seven growing seasons. Use a simple field sheet with dedicated columns for the row, tree number, height, leader condition, needle color, pest notes, and replacement decisions. Picture Row 4 in Year 3: three trees flagged with forked leaders in the notes column, corrected during the December pruning pass, then measured the following October at a clean single leader alongside the rest of the row that stayed on track for a Year 7 harvest.